


NOTICE: The following assembly steps are only a general guide to assist in the assembly of your Magicycle Bike and is not a complete or comprehensive manual of all aspects of assembly, maintenance and repair. We recommend you consult a certified bicycle mechanic to assist in the assembly, repair and maintenance of your bicycle. For detailed instructions please view the Magicycle Cruiser/ Cruiser Step-thru Assembly video.
Step 1: Install the handlebars. Remove the four screws from the stem, ensuring the linear markings on the handlebars are centered and handlebars are adjusted to the comfortable position. Finally, tighten the screws with the assembly tool.
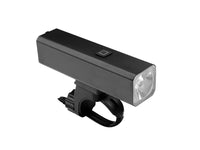
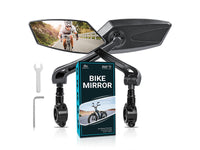
Step 2: Install the headlight. Use a socket wrench to hold the nut and loosen the screw with a inner hexagon wrench and remove the screw. Install the screw pass through headlight and the bracket and adjust the headlight properly for riding conditions.
Step 3: Install the front fender, clamp the nut with a socket wrench, loosen the screw with an Allen wrench and remove the screw. The mounting screws pass through the headlight bracket and the front fender bracket, and use an Allen key to fix the screws of the front fender and the front fender bracket.
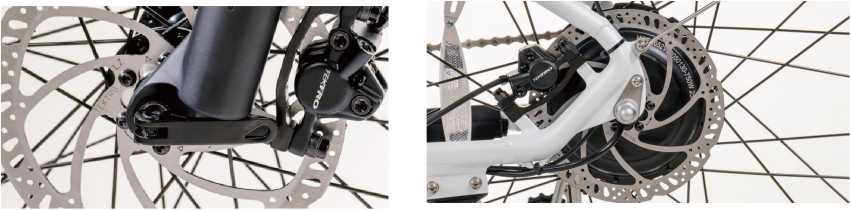
Step 4: Install the front wheel. Remove the plastic front fork guards from the front wheel being sure not to touch the brake rotor set. Open the quick skewer and remove the thumb nut and cone spring. Carefully lower the fork and ensure the brake rotor goes into the caliper. Next align the dropouts with the axle of the wheel hub to make sure the fork dropouts are fully seated on the axle. Install the quick skewer starting from the brake rotor side of the wheel and then push quick release skewer through the hub. Keep two cone springs pointed towards the wheel hub. Tighten the thumb nut until the quick release lever is held in line with the axle, and then use your palm of your hand to close the quick release skewer.
Step 5: Use a bike pump with a press gauge to inflate tires to desired KPA. The recommended pressure for this mode is 40 KPA. Do not over inflate or underinflate tires.
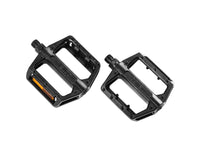
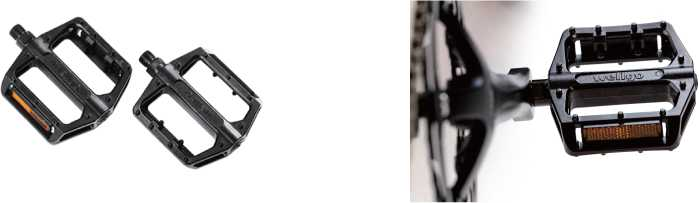
Step 6: Install the pedals. The left and right pedals are marked on both ends. First, install the right pedal by tightening the pedal in clockwise direction. The left pedal is tightened by turning the pedal in counterclockwise direction. Both pedals should be tightened to 35 Newton meters by using a torque wrench.
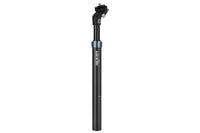
Step 7: Adjust the saddle height loosen the seat clamp, remove the seat post and ensure the seat clamp is centered over the hole in the seat tube. Insert the seat post into the slot, adjust the saddle height to a suitable height and tighten the adjustment nut When you feel resistance, close the seat tube clamp fully.
Step 8: Adjust the seat position forwards or backwards. Use a alien wrench to loosen the seat adjustment bolt and make sure to stay within the marked adjustment range.
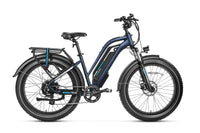
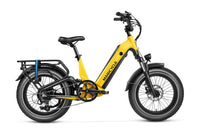
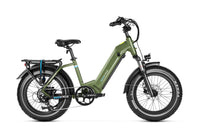
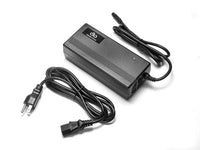
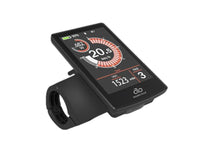
Step 9: Check whether the battery pack is locked into the frame of the Magicycle Cruiser / Cruiser Step-thru When you want to take off the battery insert the key and turn to release the battery pack. The battery pack can be removed and charged separately. This is the charging port. Align the battery pack to the battery holder carefully and push until when you hear it click into the place.
NOTICE: Ensure all hardware is tightened properly and all safety checks in the following sections are performed before first use. Contact Magicycle Bike if you have any questions regarding the assembly of your bike. If you are not able to ensure all the assembly steps in the assembly video are performed properly, or you are unable to view the assembly video please consult a certified local bicycle service provider for assistance in addition to contacting Magicycle Bike After-Service for help.

